Thursday, June 16, 2011

Kitchen Phase 3, The Rebuild

After thoroughly destroying our kitchen including removing walls and doorways, we realized that we needed to start putting it back together and the first order of business was to have Handyman Dave install a new (orange) exterior door and add a temporary door to the 3-season porch (soon to be mudroom).


With that done, we figured that we should replace the gaping hole at the top of the basement stair before one of us met our maker.


To fix the hole, Janine got our her trusty and relatively foolproof miter saw to craft a rock solid platform to replace the asbestos cover one that had been removed. After a few screws and a topping of plywood we had access to our basement back


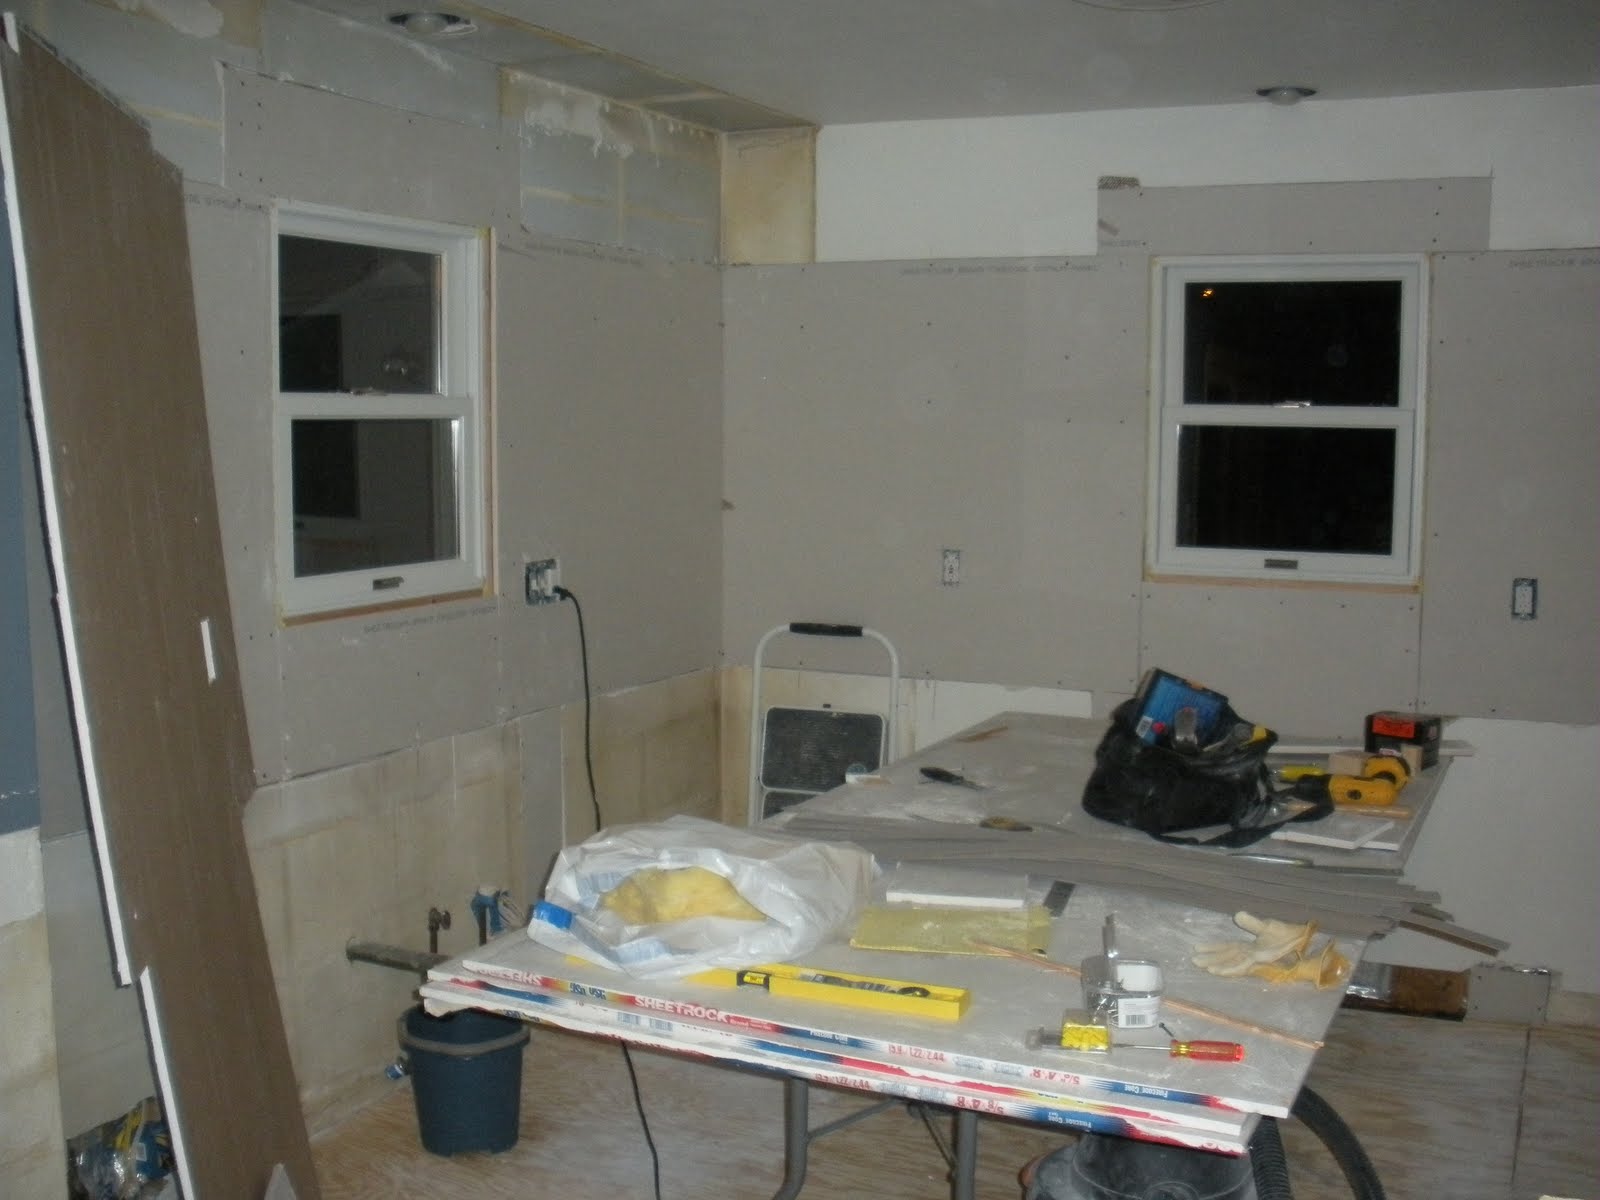
With that safety hazard taken care of we began the process of closing off the kitchen from the basement stair and re-drywalling the kitchen (Matt did a bunch of boring electrical work including multiple inspections from the City before this step). We quickly learned that we are both slow and terrible at drywalling. After numerous nights of labor the kitchen still looked like this:


Not pretty but at least it is starting to look like a room, if not a kitchen.

Friday, June 10, 2011

Kitchen Phase 2, Demolition

As mentioned in the previous post the kitchen layout was atrocious, so we began our demolition journey by punching a hole into our 3 season porch to connect to the basement and door to the driveway. This space will be our new entryway from the side of the house into what will be a sun and mud room area.

Wednesday, June 8, 2011

Kitchen Phase 1

Having gone almost 6 months without a major home improvement project we were itching to put a hole in a wall, especially a kitchen wall. Our kitchen, while usable, is the most poorly designed room in the house. The room measures 11'x11' with all of the cabinets and counter on one wall and all of the appliances on another wall. The result is that prep work is done on one side and then food is carried across the room to the stove, which is not an efficient setup. To make matters worse, the there is a door to the basement and window that sits low to the ground making a large part of the room unusable. Did I also mention the original 1950s red laminate counter top, cheap vinyl floors and dated appliances?

In order to maximize our space we decided to do a full gut renovation removing everything, closing off the door to the basement, and raising the window above cabinet height. We figured that if we are going to do it, we are going to go all the way.

After reading a few hundred kitchen magazines, design books, and blogs we decided on a general theme of clean contemporary lines with rich warm wood cabinets and crisp cool surfaces.


With these inspiration rooms in mind, all we have left is to destroy the current nightmare of a kitchen...

Major Project #4 - Sliding Door

Ahhh, to access our new deck and fenced in yard, all we had to do was cut a giant whole in the side of the house and install a door.  And come on, don't you think this wall is just screaming for a door?

 
 This window on the left is soon to be history.


We debated for some time about french doors vs. sliding doors, and to make the best use of our dining space, we finally settled on a slider. 


Can you believe they didn't build it with this door to begin with?


Monday, May 16, 2011

Major Project #3 - Deck Construction

After building the fence to keep the pooches safely contained in the backyard, it was time to tackle the next project, building a deck. Why fence in your yard if you can't get out and enjoy it?

As things stood, the yard was little more than a muddy patch of grass with two huge white oak trees in the middle. Even worse, to get to the backyard we had to go out the side of the house, down some stairs, across part of the driveway, and then through a gate in the fence. This just wouldn't do. The solution, build a deck and replace a dining room window with a sliding patio door.

We know that we wanted three things in a deck: cedar cladding, clean lines, and no railings. Building cedar would give us the look we wanted while avoiding the chemicals associated with pressure treated wood, although at a slight price premium. For inspiration on deck with clean lines we went to the internet. A quick Google search led us to the work of Peter Kirsch-Korff, an L.A. based landscape architect whose work was right up our alley.

We love the sleek look and right angles of this deck, which reminded us of a recent trip to Mexico where we stayed an a newly built modern hotel.
The next hurdle was to build a deck without railings while meeting code.  The challenge here is that the main floor of our house stands almost 3 feet higher than ground level in the back and the lot slopes gradually across the back of the house. In order to meet code we had to provide a railing to deal with the drop-off if we built at house level. The solution, surround the deck with steps running the perimeter of the deck so there was no drop-off. Again, we went to the internet for inspiration.

We really liked the corner detailing of the steps of this deck, which make the steps look intentional rather than utilitarian.

For the transition down to driveway level, we liked the idea of a "dock" made of deck platforms like this deck from who else but Peter Kirsch-Korff
Using these pictures as inspiration, Matt whipped up this rough sketch for Handyman Dave.

Armed with the sketch and more unskilled labor from Matt's brother Jon, Dave got to work building what looked like a simple platform deck.

After a couple months of blood, sweat, and cash this is the result:


Now all that is left to do is cut a giant hole in the side of the house to make room for a door to access our gorgeous new deck...

Monday, March 21, 2011

Major Project #2 - Fence Construction

As the proud parents of two dogs, our lives revolve around our two boys. Perry is our five year old rat terrier and is an evil genius. While he stands under a foot tall and weighs only 25 pounds, Perry has the ability to hurdle large objects and has an affinity for barking at neighbor dogs.

Chester is Perry's younger brother. He is a one year old lab/beagle/coon hound mix that we rescued. Unlike his older brother Chester LOVES other dogs, perhaps a little bit too much.

These two factors brought us to the obvious conclusion that we need a fence. A tall fence. Our first inclination was to hire a contractor to build our fence. Given the size of the yard, we thought hiring a professional landscaper made sense. After numerous price quotes, it became clear we could do a significant amount of the work ourselves. The solution: dig the 24+ four foot deep post holes ourselves, assist a contractor in installing the posts and prefab fence panels.

After having Dave the Handyman mark the post locations, Matt and his brother Jon chose a warm and wet spring morning to begin digging the holes. Since this is the upper Midwest each hole had to be at least four feet deep to meet code. To tackle this challenge we rented a gas powered auger with a two foot extension. While this cut into the soil like a hot knife through butter, the muddy soil added almost 200 pounds to the weight of the auger. After a few holes the boys were feeling it. After 24 they could barely lift their arms. The next day they couldn't move.

The next step was for Dave to install the posts and panel from our home away from home, Home Depot. Luckily Jon was on summer vacation and could be there to hold , level, lift, and serve as Dave's second set of hands. In a few short weeks we went from this:

Before
To this:
After

After
In the end we got a beautiful fence for a fraction of the cost to have it professionally built. It was a lot of work and we have never been so sore, but the result was worth it.

Major Project #1 - Master Bathroom

The title of this post is misleading. Our first "major" project was to replace the inefficient/old/loud/huge furnace and air conditioner with super efficient/new/quiet/compact models.This seemed like a wise thing to do upfront in order to take advantage of the federal tax credits.

With the guts of the house taken care of we moved onto fixing the major problem problem with the house, a shower that leaks profusely into the basement. After some exploratory surgery with a hammer and chisel, we discovered the culprit, a crack in the mortar bed from the wall to the drain.


The solution, DEMOLITION! After a long weekend of demo involving sledgehammers, chisels, and two mangled claw hammers we completely gutted the room. Then we had to move on to the larger issue of putting the room back together. For some background, neither of us have any formal training in a construction trade or experience in home improvement beyond replacing the occasional light fixture or faucet. Armed with a laptop, a few hundred hours of watching HGTV, and more unskilled labor from Matt's brother Jon we (very slowly) began the process of waterproofing the shower, tiling, painting, and accessorizing the room taking it from this:

Before
To this:

After
After
Matt & Jon
And in the end we have a bathroom that doesn't leak (thanks to cement board, Schluter, and tile) and doesn't look like it belongs in an institution.  While its not 100% perfect, its ours.