Monday, December 12, 2011

Kitchen Phase 5, Cabinets

Once we had our new (and gorgeous) floors installed it was time to tackle the kitchen cabinets. Because we had removed all the existing cabinets to create a clean slate, we had a lot of cabinets to buy and a modest budget to do it on. Our first instinct was to go with IKEA cabinets which have a reputation for having very solid boxes that are DIY friendly, but after months of building virtual rooms at ikea.com and visiting the store we decided that they weren't quite what we had in mind. The process of the designing the room with the online tool about 100 times did however get us to a point where we knew exactly what we wanted for a layout, so when we found the perfect slab style cherry cabinets from Thomasville at Home Depot we could tell the kitchen designer exactly what we wanted. To top it off because of an amazing sale at the store we got 30% off of our cabinets and countertops which let us upgrade to quartz for the countertops and fancy storage inserts.

All that was left was for us to install the cabinets ourselves.........NOT! We know our DIY limits and installing thousands of dollars of cabinets and doing fine finish carpentry is outside that scope. Luckily for us, Home Depot provides very reasonably priced installation services that include a warranty. 

A few weeks later Mike, our installer, showed up and made quick work of hanging the cabinets, installing door hardware (from IKEA), and adding custom trim details to make everything look polished.


All that was left was to install our "Yukon Blanco" quartz countertops add a backsplash, and get the plumbing to work.

Kitchen Phase 4, Tile

When it came time to select our flooring our initial thought was to go for cork because it is easy to install, comfortable to stand on, and we fell in love with dark rich variety. When we set it next to the wood cabinets that we were debating on buying, we realized that we would be making the room a cave with all of the dark brown towns, so we took a detour down the tile isle at Home Depot. There we saw a lot of nice tiles in grey tones like our inspiration room, but none we perfect so we began our hunting expedition. After Home Depot we tried a half dozen specialty tile shops which all had beautiful and insanely expensive tiles. Then when we were about to give up we stumbled on Maloney Tile, which is basically a small house that is jam packed with tile and there we found our winner, a 12 by 24 inch grey porcelain tile from Italy.

After selecting the tile, it was a simple matter of building a new subfloor, adding a waterproofing/decoupling membrane (rather than cement board), renting a tile saw, laying the tile, and grouting it.


In one Saturday we went from no floor to this perfect base for our new kitchen cabinets.

Thursday, June 16, 2011

Kitchen Phase 3, The Rebuild

After thoroughly destroying our kitchen including removing walls and doorways, we realized that we needed to start putting it back together and the first order of business was to have Handyman Dave install a new (orange) exterior door and add a temporary door to the 3-season porch (soon to be mudroom).


With that done, we figured that we should replace the gaping hole at the top of the basement stair before one of us met our maker.


To fix the hole, Janine got our her trusty and relatively foolproof miter saw to craft a rock solid platform to replace the asbestos cover one that had been removed. After a few screws and a topping of plywood we had access to our basement back


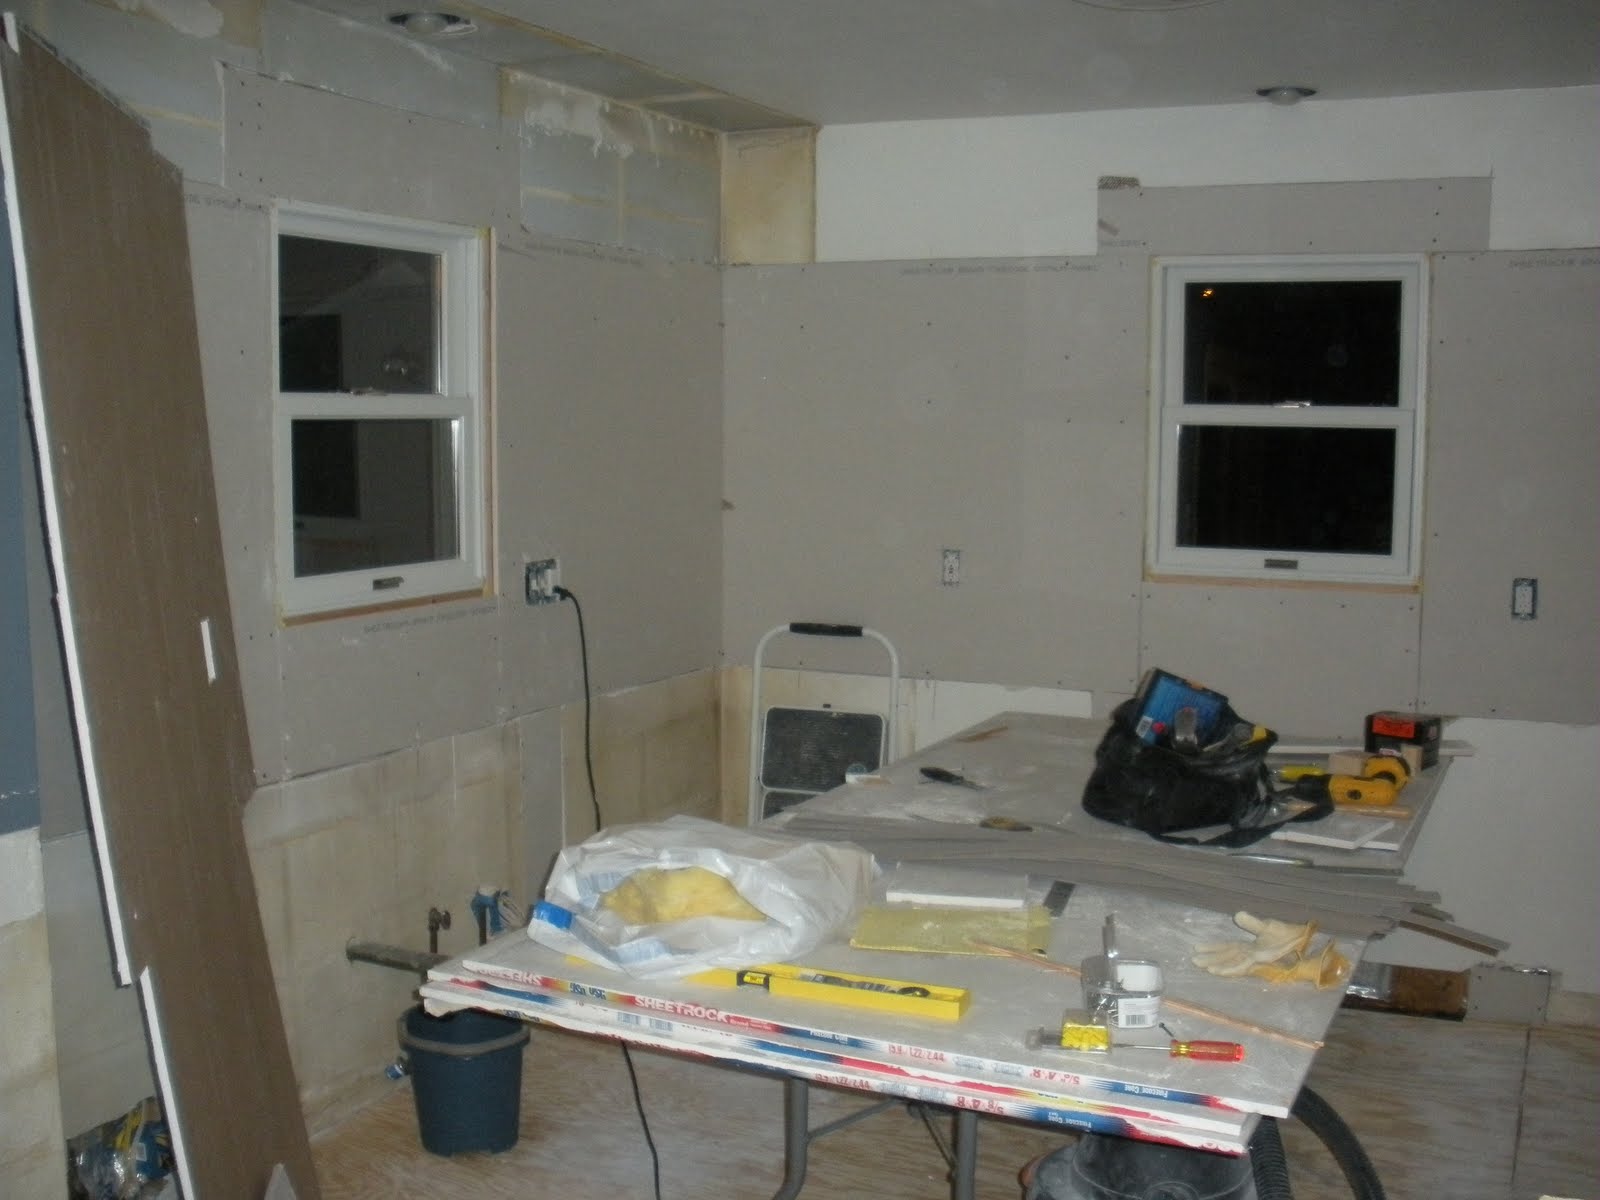
With that safety hazard taken care of we began the process of closing off the kitchen from the basement stair and re-drywalling the kitchen (Matt did a bunch of boring electrical work including multiple inspections from the City before this step). We quickly learned that we are both slow and terrible at drywalling. After numerous nights of labor the kitchen still looked like this:


Not pretty but at least it is starting to look like a room, if not a kitchen.

Friday, June 10, 2011

Kitchen Phase 2, Demolition

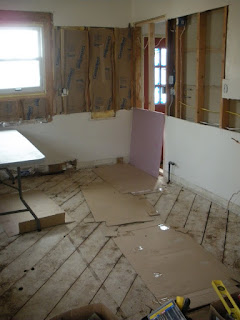
As mentioned in the previous post the kitchen layout was atrocious, so we began our demolition journey by punching a hole into our 3 season porch to connect to the basement and door to the driveway. This space will be our new entryway from the side of the house into what will be a sun and mud room area.

Wednesday, June 8, 2011

Kitchen Phase 1

Having gone almost 6 months without a major home improvement project we were itching to put a hole in a wall, especially a kitchen wall. Our kitchen, while usable, is the most poorly designed room in the house. The room measures 11'x11' with all of the cabinets and counter on one wall and all of the appliances on another wall. The result is that prep work is done on one side and then food is carried across the room to the stove, which is not an efficient setup. To make matters worse, the there is a door to the basement and window that sits low to the ground making a large part of the room unusable. Did I also mention the original 1950s red laminate counter top, cheap vinyl floors and dated appliances?

In order to maximize our space we decided to do a full gut renovation removing everything, closing off the door to the basement, and raising the window above cabinet height. We figured that if we are going to do it, we are going to go all the way.

After reading a few hundred kitchen magazines, design books, and blogs we decided on a general theme of clean contemporary lines with rich warm wood cabinets and crisp cool surfaces.


With these inspiration rooms in mind, all we have left is to destroy the current nightmare of a kitchen...

Major Project #4 - Sliding Door

Ahhh, to access our new deck and fenced in yard, all we had to do was cut a giant whole in the side of the house and install a door.  And come on, don't you think this wall is just screaming for a door?

 
 This window on the left is soon to be history.


We debated for some time about french doors vs. sliding doors, and to make the best use of our dining space, we finally settled on a slider. 


Can you believe they didn't build it with this door to begin with?


Monday, May 16, 2011

Major Project #3 - Deck Construction

After building the fence to keep the pooches safely contained in the backyard, it was time to tackle the next project, building a deck. Why fence in your yard if you can't get out and enjoy it?

As things stood, the yard was little more than a muddy patch of grass with two huge white oak trees in the middle. Even worse, to get to the backyard we had to go out the side of the house, down some stairs, across part of the driveway, and then through a gate in the fence. This just wouldn't do. The solution, build a deck and replace a dining room window with a sliding patio door.

We know that we wanted three things in a deck: cedar cladding, clean lines, and no railings. Building cedar would give us the look we wanted while avoiding the chemicals associated with pressure treated wood, although at a slight price premium. For inspiration on deck with clean lines we went to the internet. A quick Google search led us to the work of Peter Kirsch-Korff, an L.A. based landscape architect whose work was right up our alley.

We love the sleek look and right angles of this deck, which reminded us of a recent trip to Mexico where we stayed an a newly built modern hotel.
The next hurdle was to build a deck without railings while meeting code.  The challenge here is that the main floor of our house stands almost 3 feet higher than ground level in the back and the lot slopes gradually across the back of the house. In order to meet code we had to provide a railing to deal with the drop-off if we built at house level. The solution, surround the deck with steps running the perimeter of the deck so there was no drop-off. Again, we went to the internet for inspiration.

We really liked the corner detailing of the steps of this deck, which make the steps look intentional rather than utilitarian.

For the transition down to driveway level, we liked the idea of a "dock" made of deck platforms like this deck from who else but Peter Kirsch-Korff
Using these pictures as inspiration, Matt whipped up this rough sketch for Handyman Dave.

Armed with the sketch and more unskilled labor from Matt's brother Jon, Dave got to work building what looked like a simple platform deck.

After a couple months of blood, sweat, and cash this is the result:


Now all that is left to do is cut a giant hole in the side of the house to make room for a door to access our gorgeous new deck...